English
Create a New Organization
After creating your account, you’ll need to create an Organization to access Inkble’s system features and begin managing orders. Role-based permissions are one of the new features available on the Inkble platform.
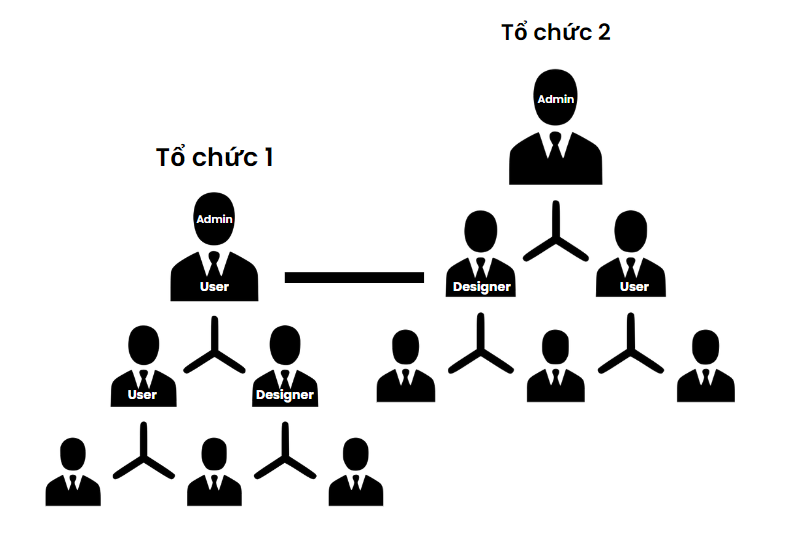
When you create a new organization, you are automatically assigned the Admin role. As an Admin, you have full access to system features and can work with the Inkble support team to enable or customize features. Only Admins can invite new members to the organization and assign roles to them.
Aside from Admin, an organization may have other specialized Roles, including:
- Designer – Can view a list of products that don’t yet have designs and upload the required artwork.
- User – A creator who can submit new product ideas and assign design tasks.
- Support – Manages the order list and assists with fulfillment.
One user can be an Admin in one organization while being a User or Designer in another. These organizations are completely independent of one another.
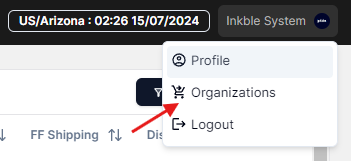
After logging into Inkble, from the Dashboard, click your profile icon in the top-right corner and go to Organizations to create a new organization.
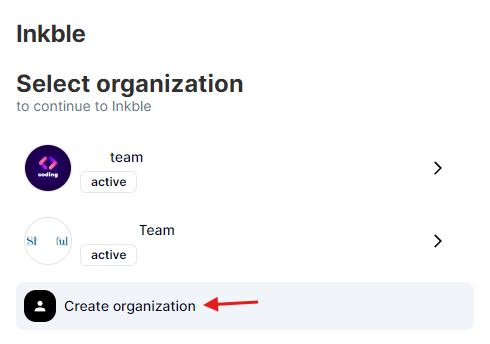
On this page, you’ll see all the organizations you belong to, along with their current status (active/inactive/archived).
To create a new organization, click Create organization.
On the next screen, enter the name of your new organization, upload a logo, and click Save.

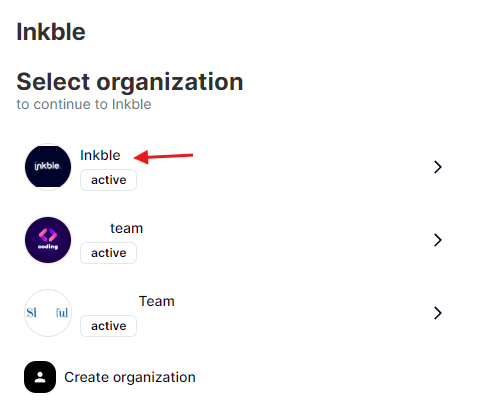
Your new organization will now appear as shown below. Note that you’ll automatically be assigned the Admin role, granting you full access to all Inkble features.
You can now click on the organization to begin configuring its basic settings.
If you have any questions about creating a new organization, please contact Inkble support via Telegram or Facebook for assistance.